











Learning to add basic modules is a core skill for designing pages with Elementor. This chapter will show you how to add text, images, buttons and other common elements by hand, and adjust their styles to give your home page its first shape.
Preparation: Entering Elementor Edit Mode
- Log in to the WordPress backend, go to "Pages" → Find "Home" (or the page you want to edit), and click "Edit".
- Click the "Edit with Elementor" button (blue with Elementor icon) at the top of the page to enter the visual editing interface.
Once you enter, the interface is divided into three sections:
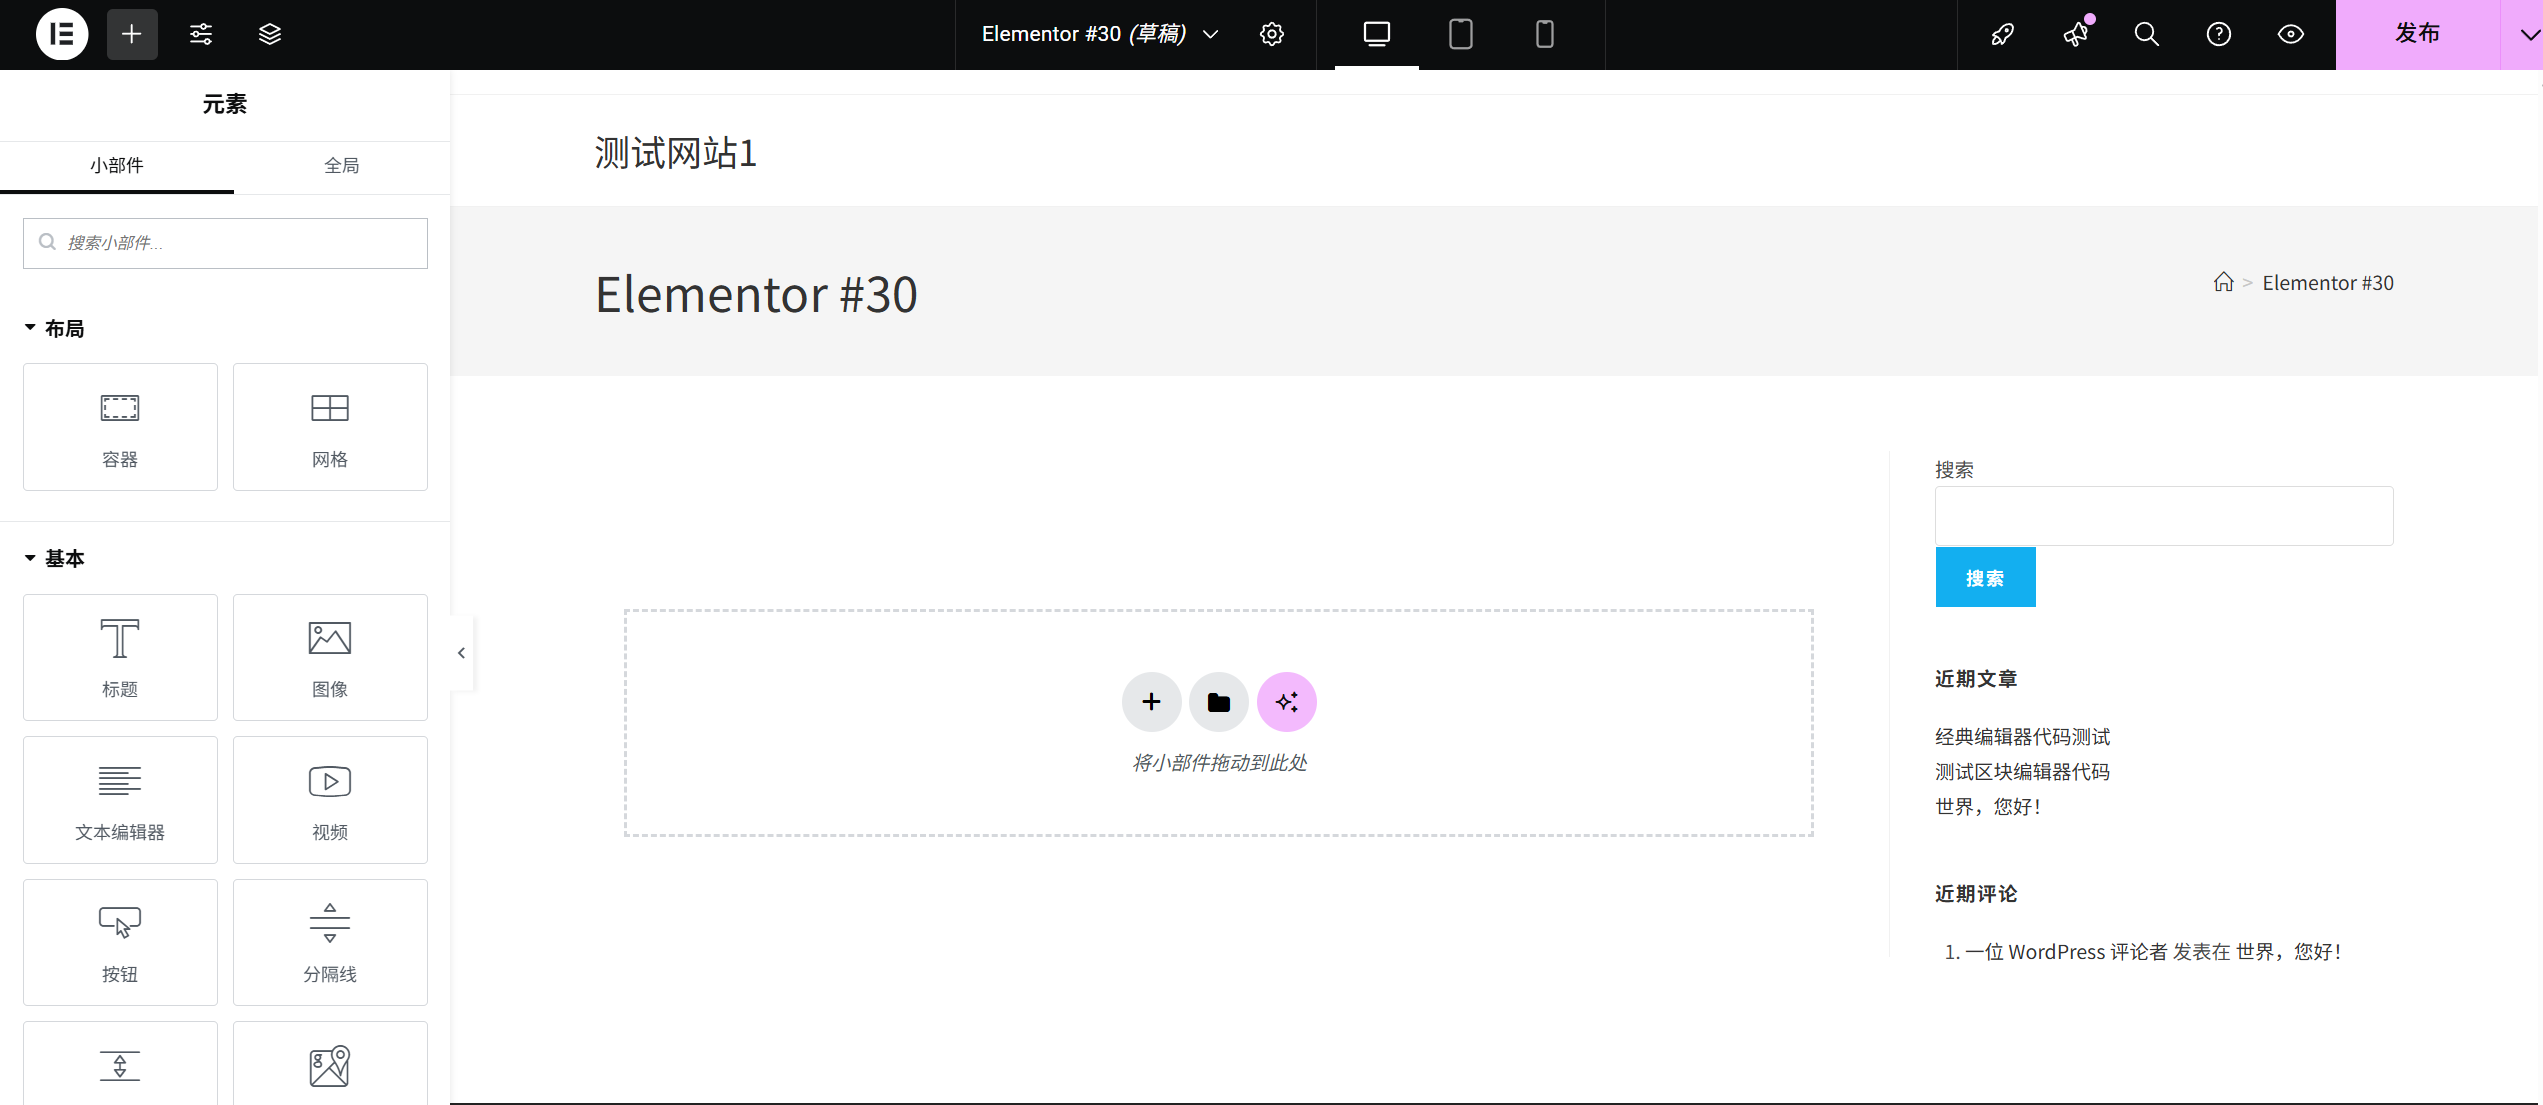
- Left: Module panel(contains all elements that can be added)
- Center: Editing area(Real-time display of page effects)
- Right: Style panel(Detail styles can be adjusted when the element is selected)
Step 1: Add the "Title" module (text title)
Headings are the 'skeleton' of the page and are used to guide visitors through the content hierarchy.
- Find the Header ModuleIn the Modules panel on the left, locate the "Title" module (icon "T") under the "Basic" category.
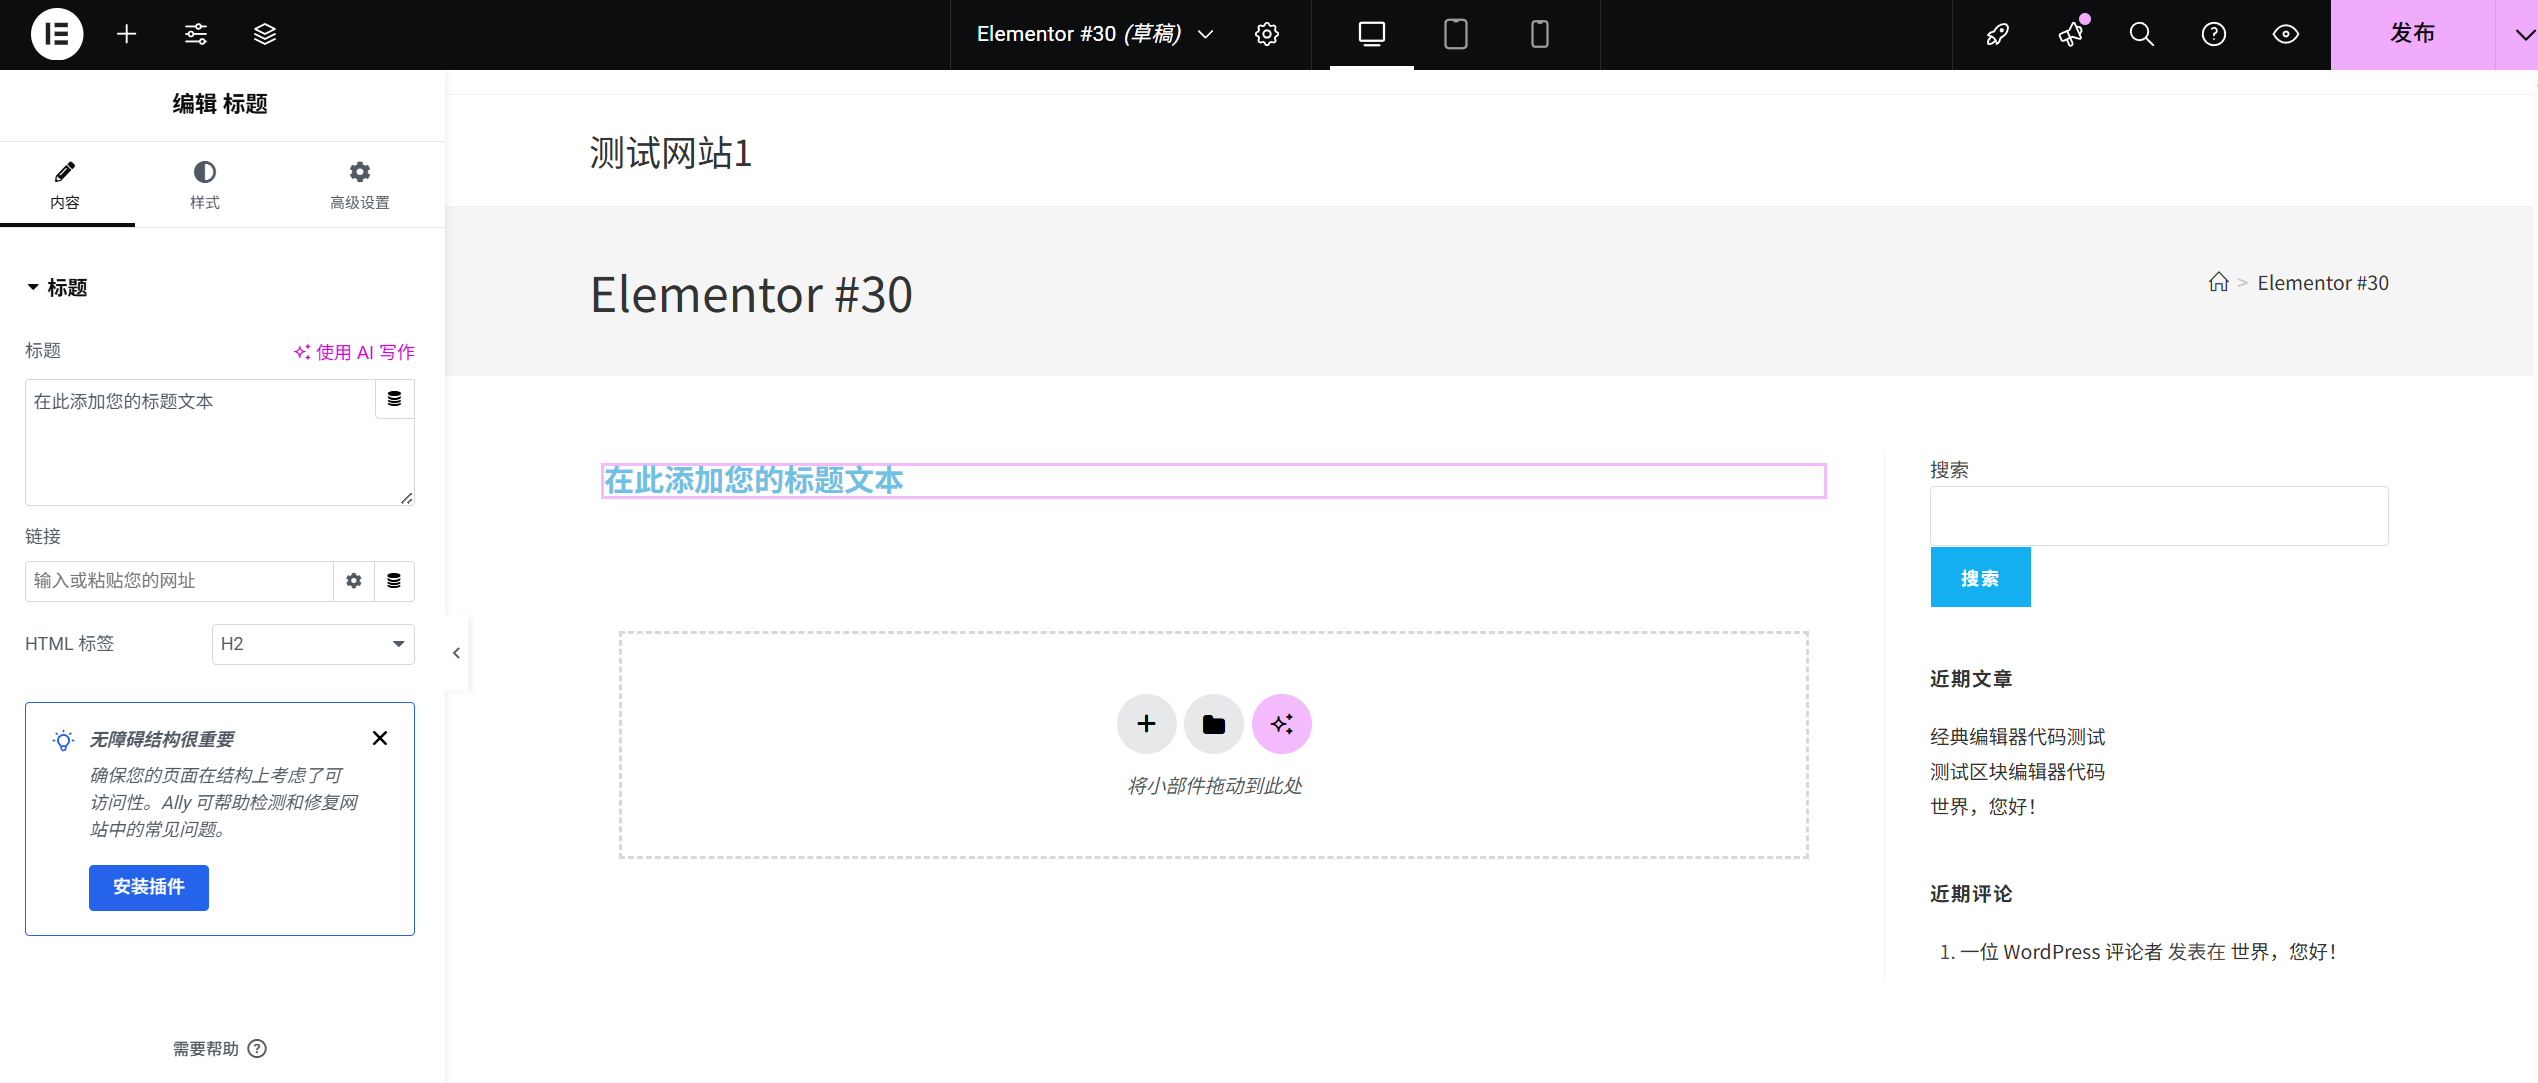
- Drag and drop to add to pagePress and hold the "Title" module, drag it to the "+ Drag element here" position in the center editing area and release the mouse. At this point the page will appear with a default title "This is the title".
- Modify the content of the titleSelect the title module you just added and an editing panel will pop up on the right side:
- In "Content" → "Title Text", delete the default text and enter your title (e.g. "Welcome to my personal blog").
- Select the level in "Header Level" (H1 is the largest, suitable for main headings; H2 is the second largest, suitable for subheadings, and is selected according to the content level).
- Adjusting the title styleClick on the "Styles" tab in the right panel to customize it:
- calligraphic style: Select your favorite font (e.g. "Microsoft Black" and "Arial") from the "Font" drop-down box.
- magnitude: Drag the "Font Size" slider, or enter the value directly (recommended title size is between 24-48px).
- color: Click on the "Text Color" box and select the title color (e.g. black, dark blue).
- Align: Click the "Text Alignment" button to set the title to be left, center or right (the main title of the home page is recommended to be centered).
Step 2: Add the "Paragraph" module (body text)
Paragraphs are used to show details, such as a synopsis, description, etc.
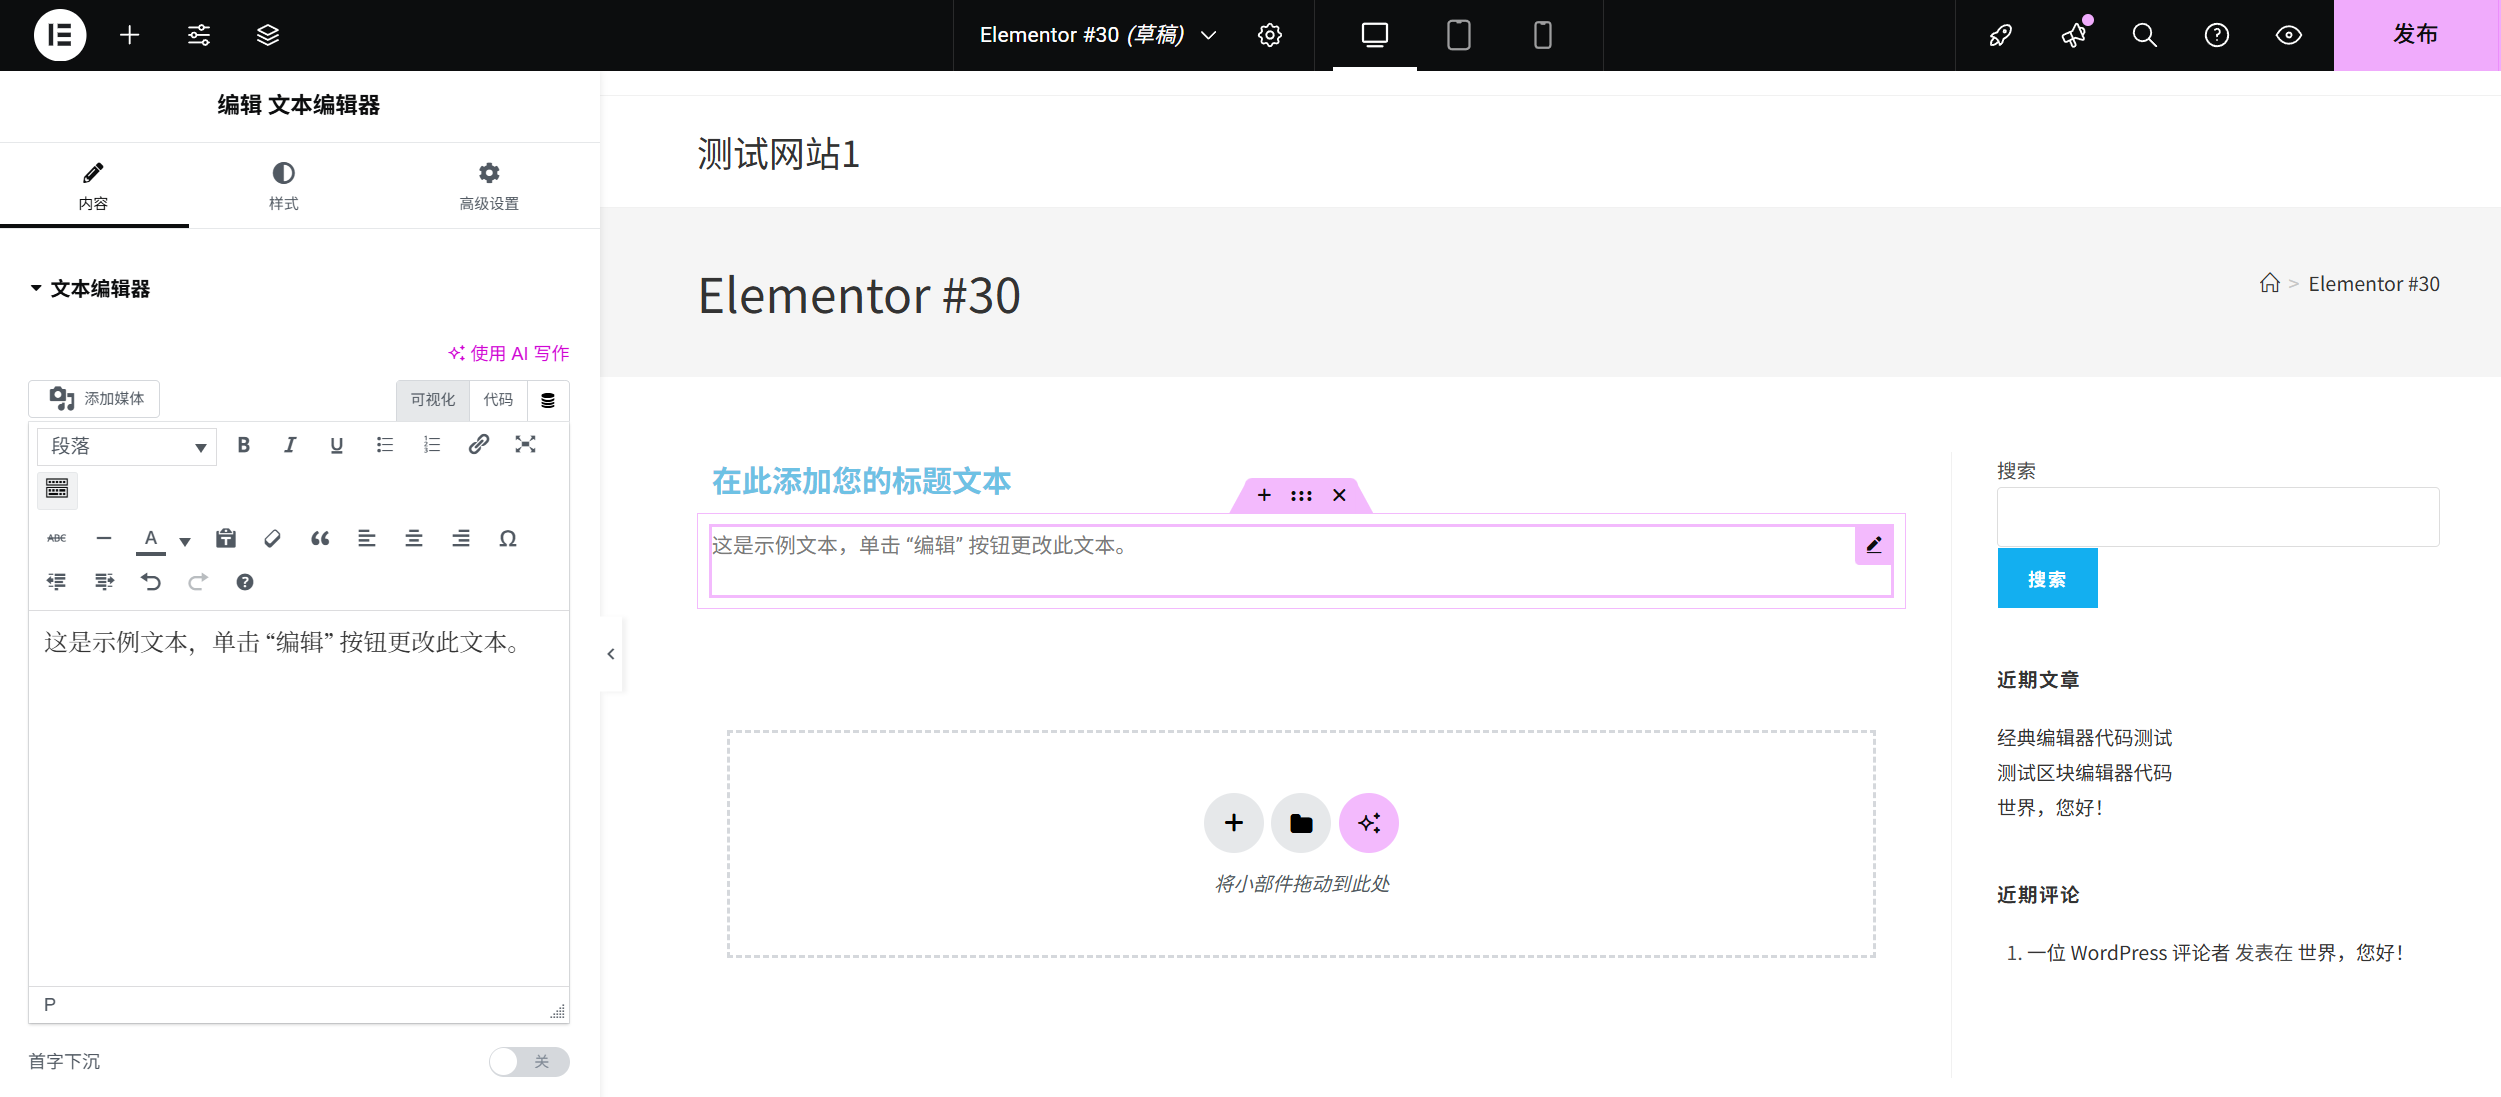
- Add paragraph moduleFind the Paragraph module (icon is the paragraph symbol) in the "Basic" category on the left side and drag and drop it underneath the Title module.
- Modify the content of the paragraphSelect the paragraph module and enter the content (e.g. "Here I share my life lessons and study notes, welcome to communicate often!) Welcome to exchange often!
- Optimize paragraph stylesSwitch to the Styles tab:
- font size: A setting of 16-18px is recommended (for ease of reading).
- Row height: Adjust to 1.5-1.8 times (for more comfortable text spacing).
- color: Choose a color that distinguishes it from the title (e.g., dark grey to avoid being too close to the background color).
Step 3: Add the "Picture" module (insert picture)
Images can make the page more vivid. It is recommended to choose clear and relevant images (e.g. personal photos, product images, landscape images).
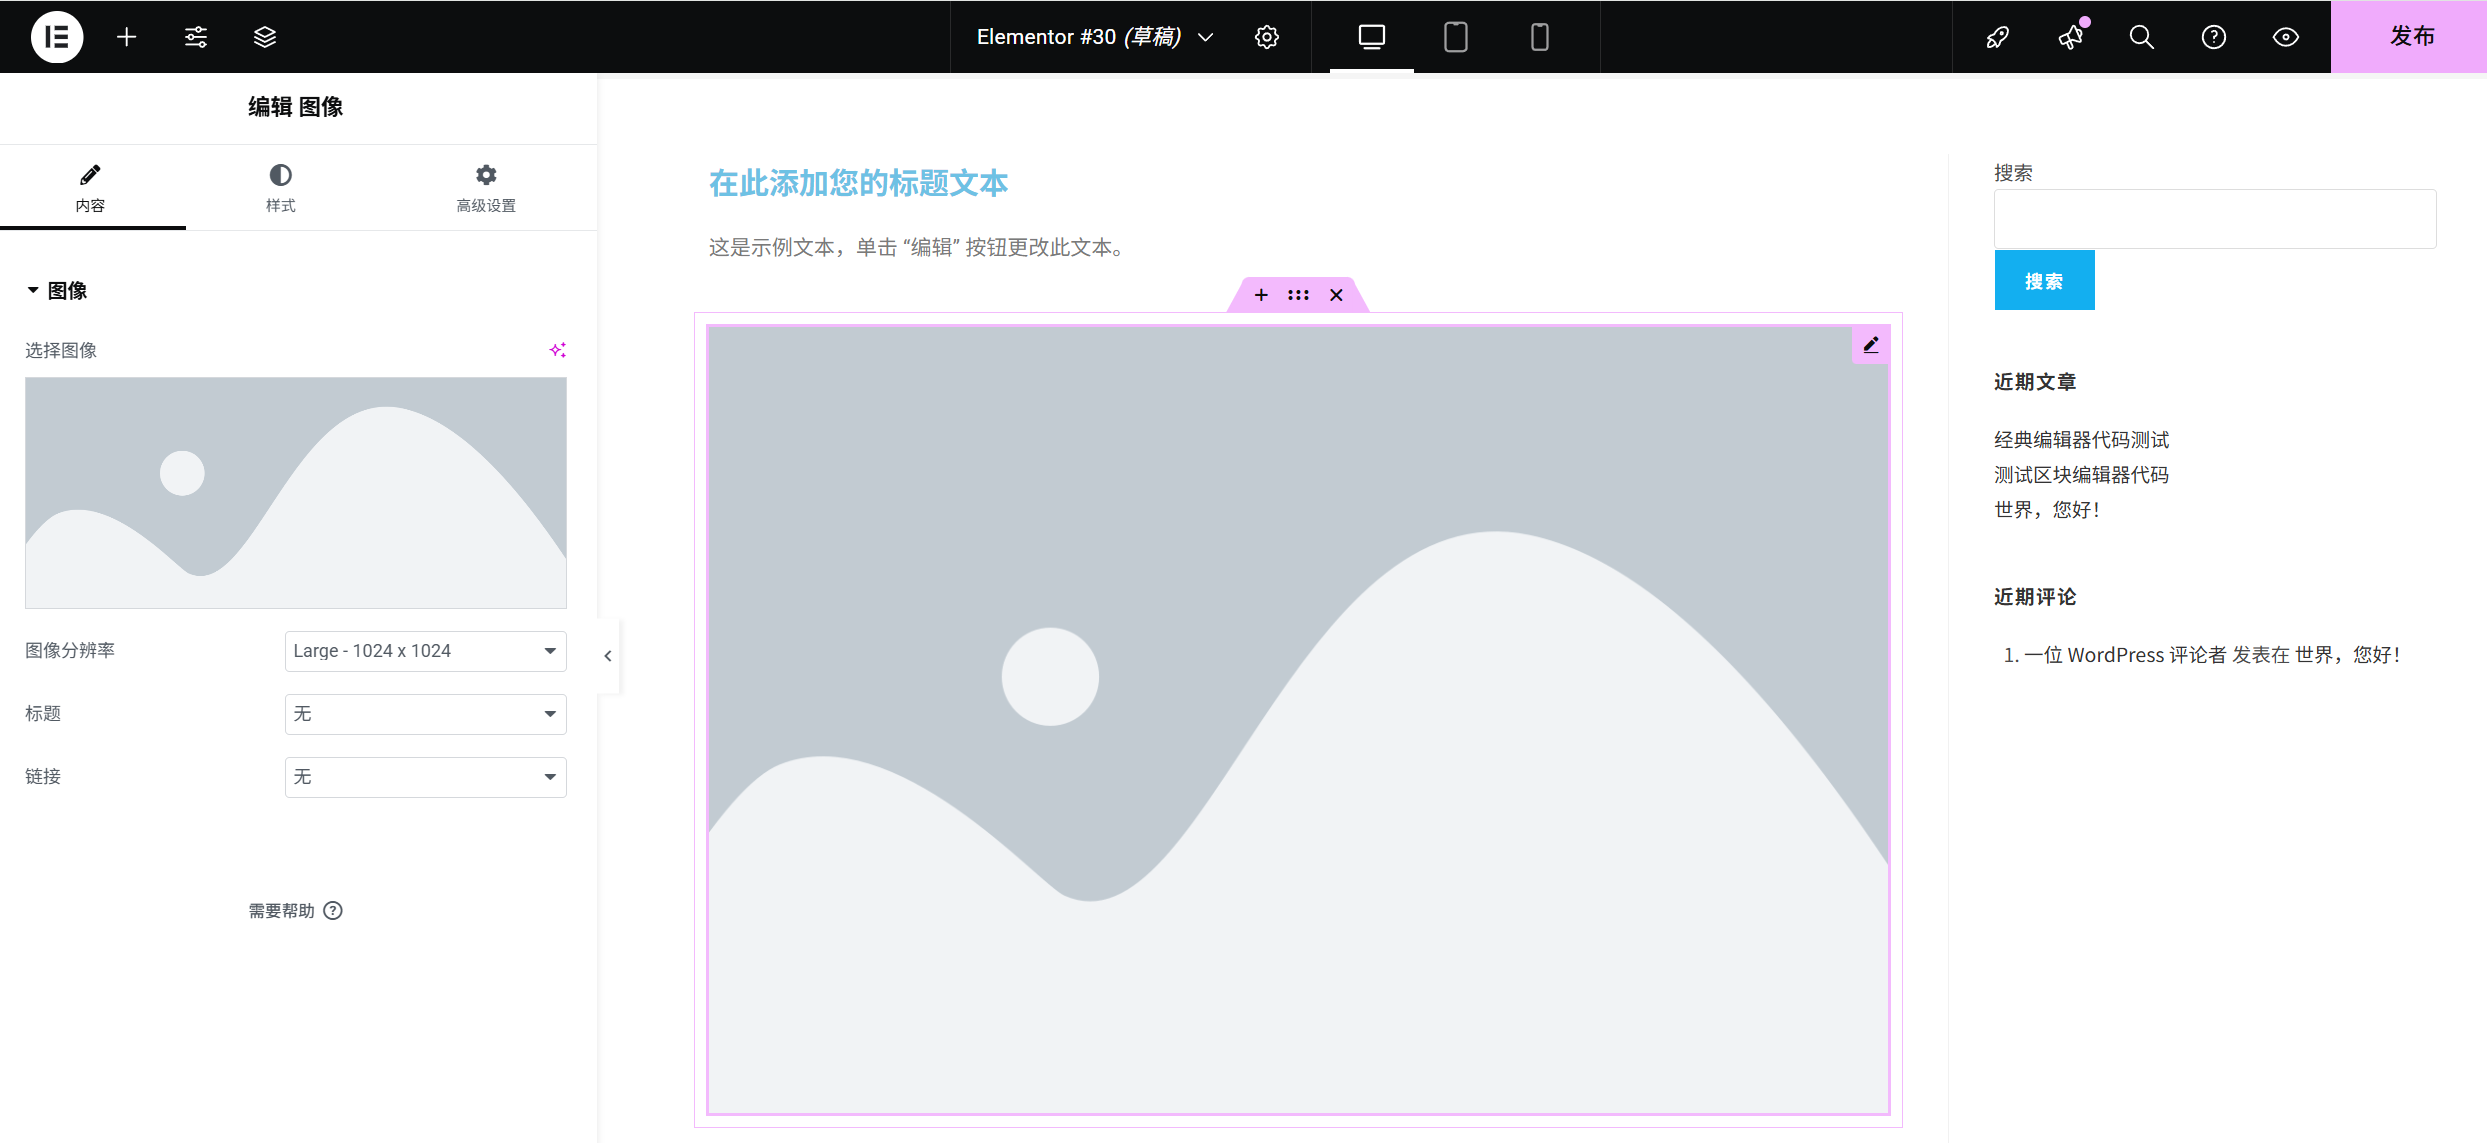
- Upload or select an imageFind the "Pictures" module in the "Basic" category on the left, and drag and drop it below the paragraph. Select the Picture module and click "Select Picture" in "Content" → "Picture" on the right side:
- If the picture is already on your computer, click "Upload File" → Select the picture → Click "Select".
- If you have uploaded before, you can select the existing image directly from the Media Library.
- Adjusting the picture displaySwitch to the Styles tab:
- sizes: Set the proportion of the image on the page in "Width" (e.g. 100% means full screen width, 80% means narrower).
- rounded corner: Drag the Border Radius slider to round the corners of the image (the larger the value, the more pronounced the rounded corners).
- Shadow: Turn on "Box Shadow" to add a slight shadow to the image (to give it a more layered look).
- Add image description (optional)Entering image descriptions (e.g. "My Travel Photos") in "Content" → "Alternative Text" will help search engines understand the content of the images and improve SEO.
Step 4: Add the "button" module (lead click)
Buttons are often used to guide visitors to take actions, such as "View More," "Contact Me," "Buy Now," etc.
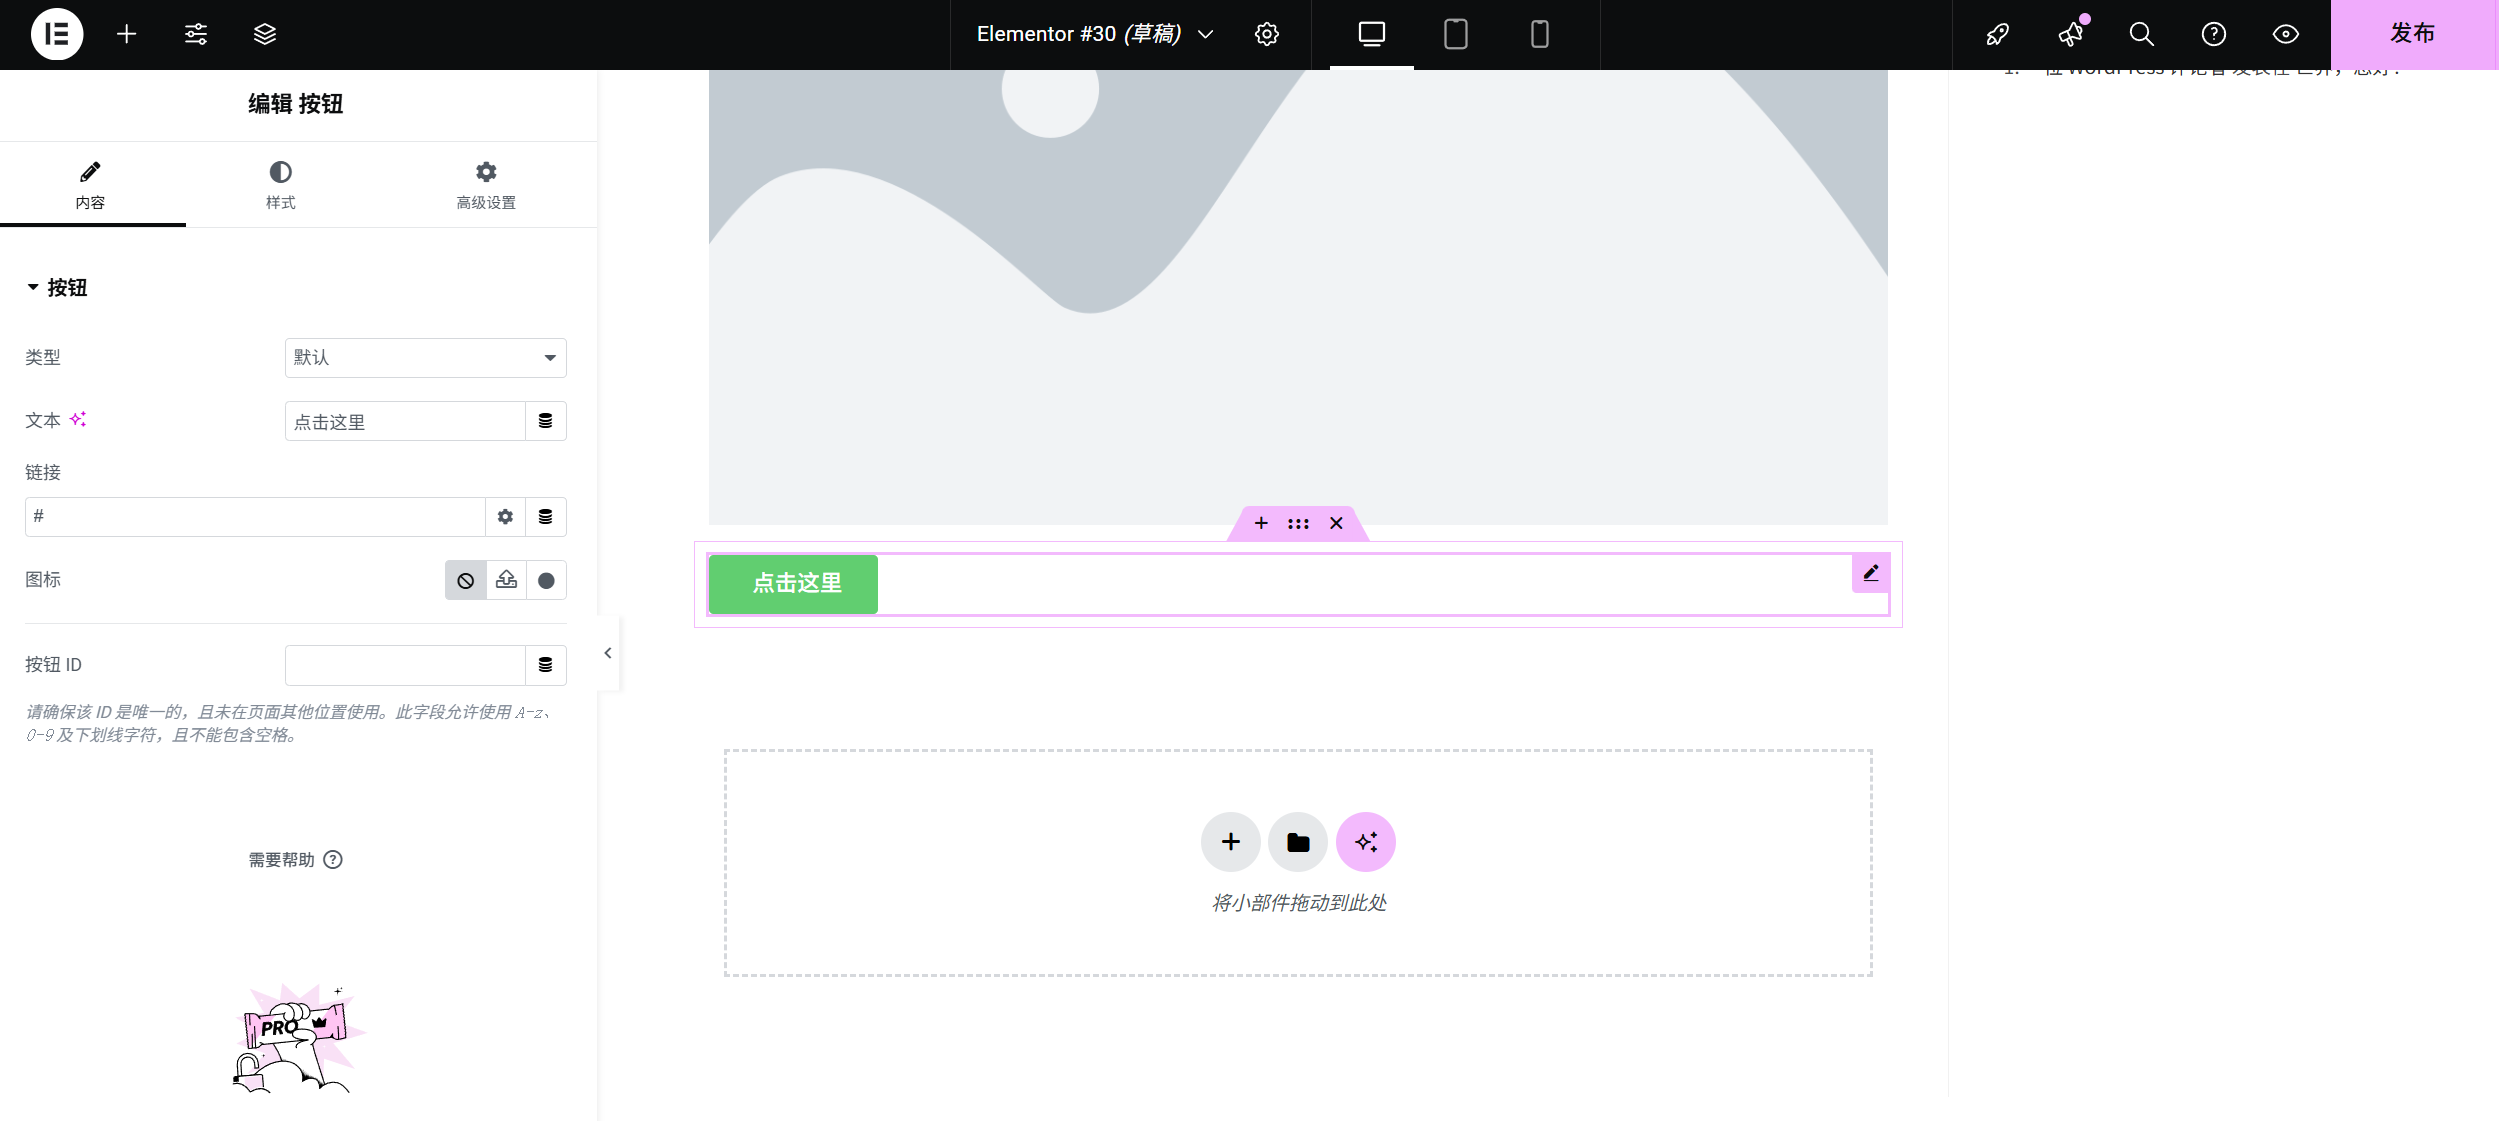
- Add Button ModuleFind the "Buttons" module in the "Basic" category on the left side and drag and drop it below the image.
- Setting button content and linksCheck the button module, on the right hand side in "Content":
- copies: Enter the button text (e.g. "View my posts").
- link: Click on the input box next to "Dynamic" and enter the link address (e.g. your blogroll page address, or an external link).
- If you are linking to a page in the site, you can click the "Select Page" icon on the right side of the input box to directly select the target page.
- Designing button stylesSwitch to the 'Styles' tab to create eye-catching buttons:
- color: Choose white for "Text Color" and a bright color (e.g. blue, orange, to coordinate with the main color of the page) for "Background Color".
- sizes: Select "Medium" or "Large" for "Button Size" to make the button easier to click.
- geometry: Set the "Border Radius" to 5-10px (slightly rounded corners are more aesthetically pleasing).
- ** hover 效果 **:点击「hover」选项卡,设置鼠标悬停时的颜色(如颜色加深),提升交互感。
Step 5: Adjust module spacing (for a neater page)
After adding multiple modules, there may be problems with them being spaced too close together or too far apart, and the layout will need to be adjusted:
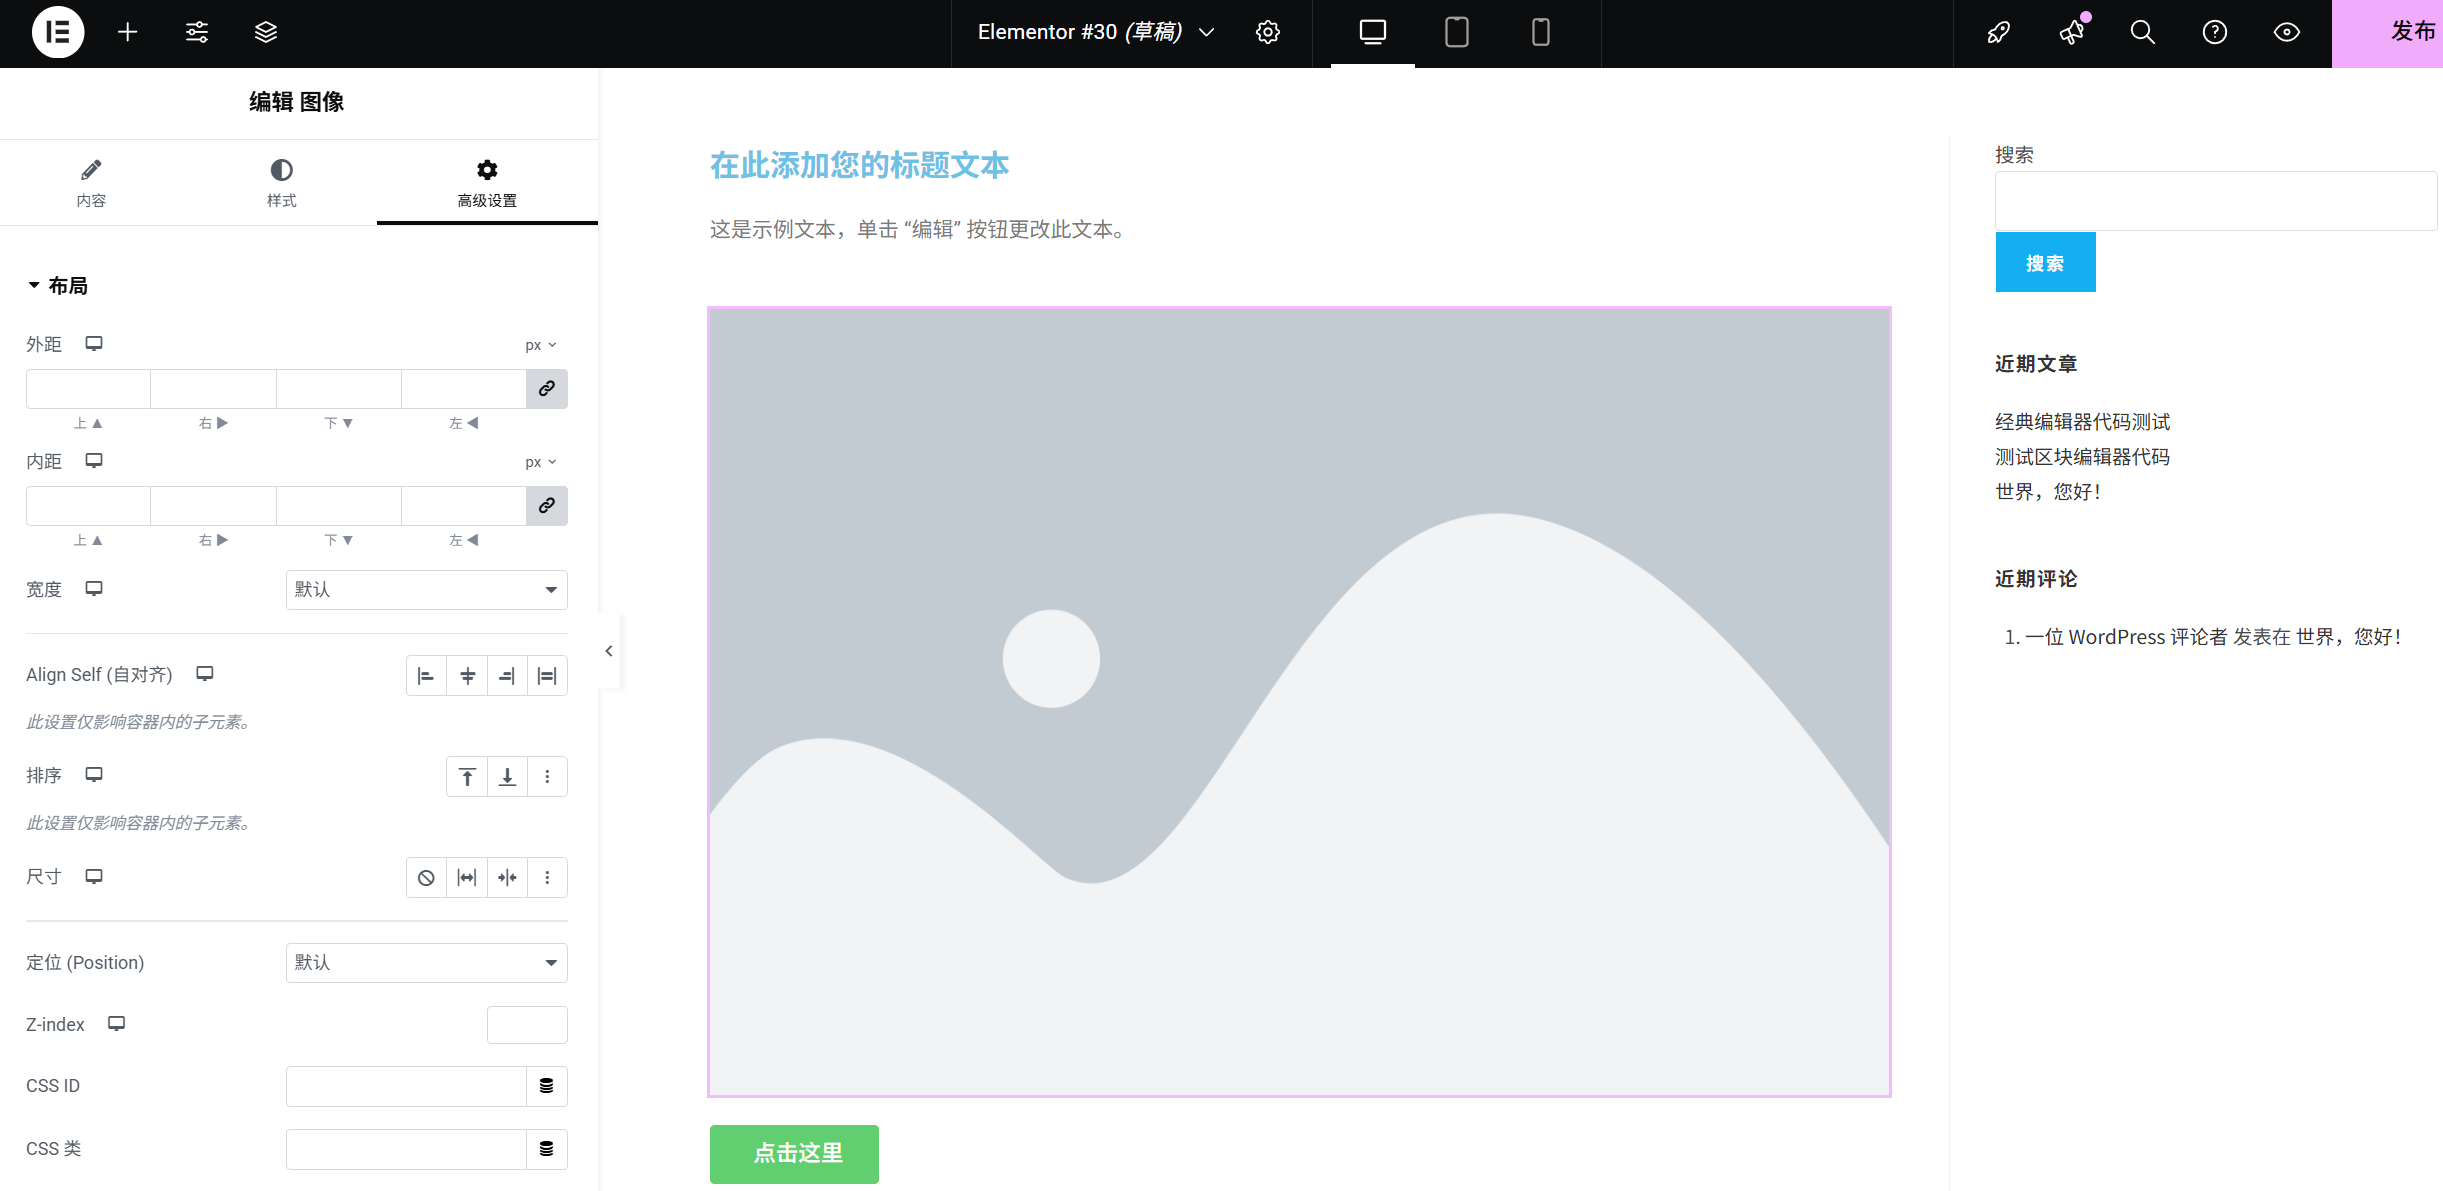
- Selected Modules: Click on the edge of the module (a blue border appears).
- Adjusting outer margins: Set the distance between the module and the upper and lower elements in the right panel "Advanced" → "Margins" (e.g., set "Top Margin" to 30px to increase the spacing from the upper module).
- line up perfectly (colloquial): Press and hold
Ctrlkey (orCommand(key) Select multiple modules at the same time and click the "Align" button on the top toolbar (e.g. "Center Align") to align the elements more neatly.
Step 6: Save & Preview
- Save changes: Click the "Update" button at the bottom left corner of the page (it is recommended to save the changes in time after each revision).
- Preview effect: Click the "Preview" button on the upper left corner and select "Desktop Preview", "Tablet Preview" and "Mobile Preview" to check the display effect on different devices (make sure that the text does not overlap and the image is not distorted on the cell phone).
Tips for Beginners
- Modules can be added repeatedly: if you need more than one paragraph or picture, you can directly drag and drop the corresponding module several times.
- Delete module: After selecting the module, press the keyboard
Deletebutton, or click on the "Trash" icon at the top of the module. - Copy Module: After selecting a module, click the "Copy" icon to quickly copy elements of the same style (just modify the content).
With the above steps, you have mastered the core module adding skills of Elementor. Next, you can try to add "icon", "divider", "list" and other modules to make the homepage more rich!
 English