











Elementor is one of the most popular visual page editing plugins for WordPress, which allows you to design your website like building blocks without writing any code. This guide will take you step by step through the installation, activation, and basic setup of Elementor, so you can get started even if you have no knowledge of it.
What is Elementor?
Elementor is a "drag-and-drop visual editor" with which you can:
- Drag and drop with the mouse to add text, images, buttons and other elements
- Real-time preview of your website, what you see is what you get.
- Adjust layouts, colors, fonts without code
- Suitable for cell phones, tablets and other device screens
Simply put, with Elementor, you can design professional website pages as if they were PPTs.
Step 1: Install the Elementor plugin
Method 1: Install directly from the WordPress backend (recommended for newbies)
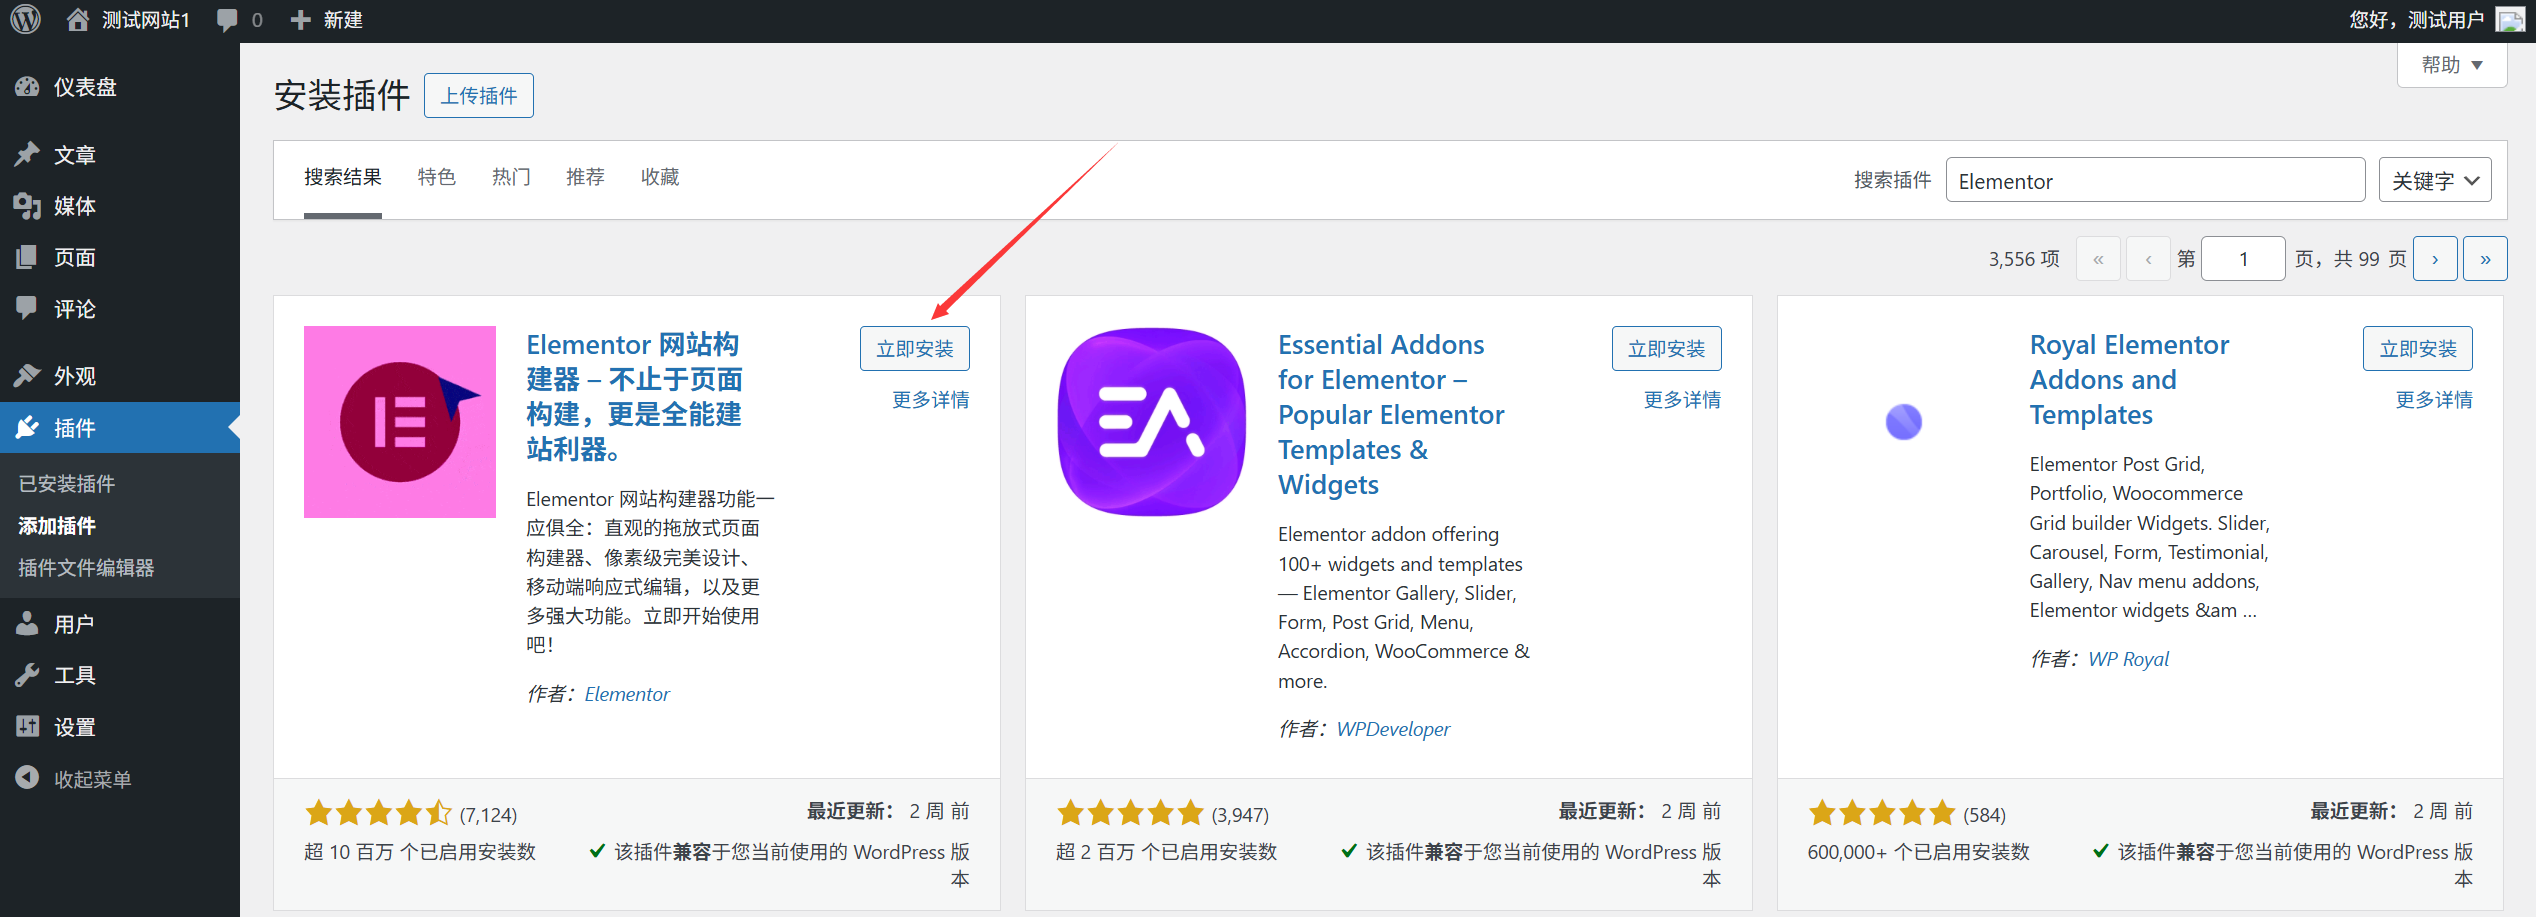
- Login to WordPress BackendEnter your website's backend address in your browser (usually the
你的域名/wp-admin), enter your username and password to log in. - Go to the plugin management pageFind "Plug-ins" → "Install Plug-ins" in the left menu bar, and click to enter the plug-in installation interface.
- Search Elementor PluginsType "Elementor" in the search box at the top of the page and wait for the search results to load. Be careful to recognize the official plugin (usually the first one, with the author shown as "Elementor.com」)。
- Click on "Install Now"Once you have found the Elementor plugin, click the "Install Now" button below the plugin card and the system will automatically download and install the plugin.
Method 2: Manual Upload Installation (for special cases)
If you can't find the plugin in the background search, you can download and install it manually:

- interviews Elementor Official Website Or WordPress Plugin Library, download the plugin installation package (in the format of
.zip)。 - In the WordPress backend go to "Plugins" → "Install Plugins" and click the "Upload Plugin" button at the top of the page.
- Click on "Select File" and find the file you downloaded.
.zipInstall the package and click "Install Now".
Step 2: Activate the Elementor plugin
After the installation is complete, the plugin card will show the "Activate" button, click it to activate the plugin.
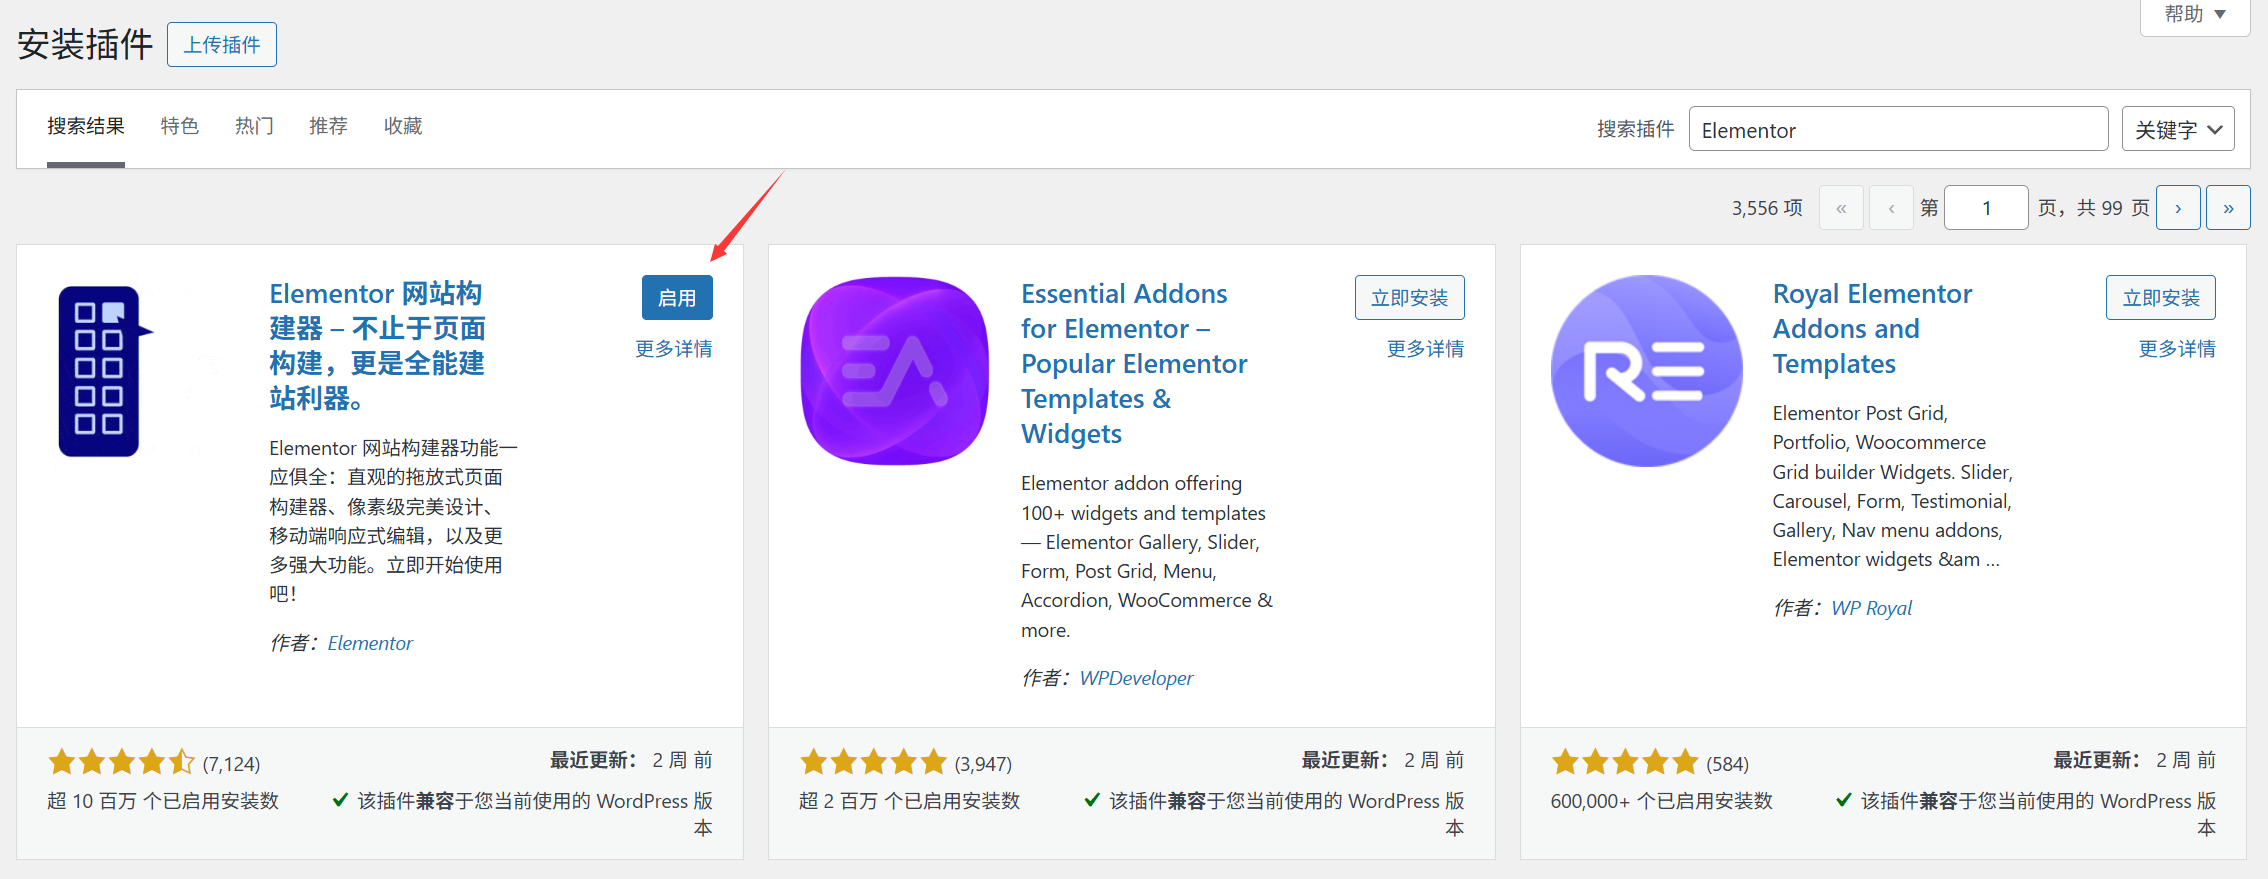
After successful activation, you will see a prompt message and a new "Elementor" option will be added to the left menu bar.
Step 3: First time user guide (a must for newbies)
After activation, Elementor will automatically pop up the "Welcome Wizard", and it is recommended that newcomers complete the following steps:
- Selecting a website typeCheck the type of your website (e.g. blog, corporate site, e-commerce, etc.) and Elementor will recommend suitable templates according to the type.
- Select Design Skill LevelBeginners are recommended to select "Beginner", the system will simplify the operation interface and reduce the interference of complex functions.
- Template library accessClick on "Connect and get a template" (optional, the free template is enough for newbies).
- Completing the setupClick "Getting Started with Elementor" to enter the editor interface.
Step 4: Verify that Elementor was installed successfully
- Go to "Pages" → "Add New Page" to create a new page (e.g. "Home").
- At the top of the Edit page, click the Edit with Elementor button (blue button with Elementor icon).
- If you successfully enter the visual editing interface (element panel on the left, editing area on the right), it means that the plug-in installation and activation is successful.
Frequently Asked Questions
1. Installation fails with "Insufficient Memory"?
- Cause: Server memory limit is too low.
- SOLUTION: Contact your server provider and request a higher PHP memory limit (at least 256M).
2. White screen after clicking "Edit with Elementor"?
- Try refreshing the page or clearing your browser cache.
- Check for other plugin conflicts: Temporarily disable the other plugins and reopen Elementor to try again.
3. Can't find the Elementor edit button?
- Confirm that the plug-in is activated: Go to "Plug-ins" → "Installed Plug-ins" and check that the Elementor status is "Activated".
- Switch Editor: At the top of the page editing page, click "Edit Mode" and select "Elementor".
Next step: start designing your first page
After installation and activation, you can:
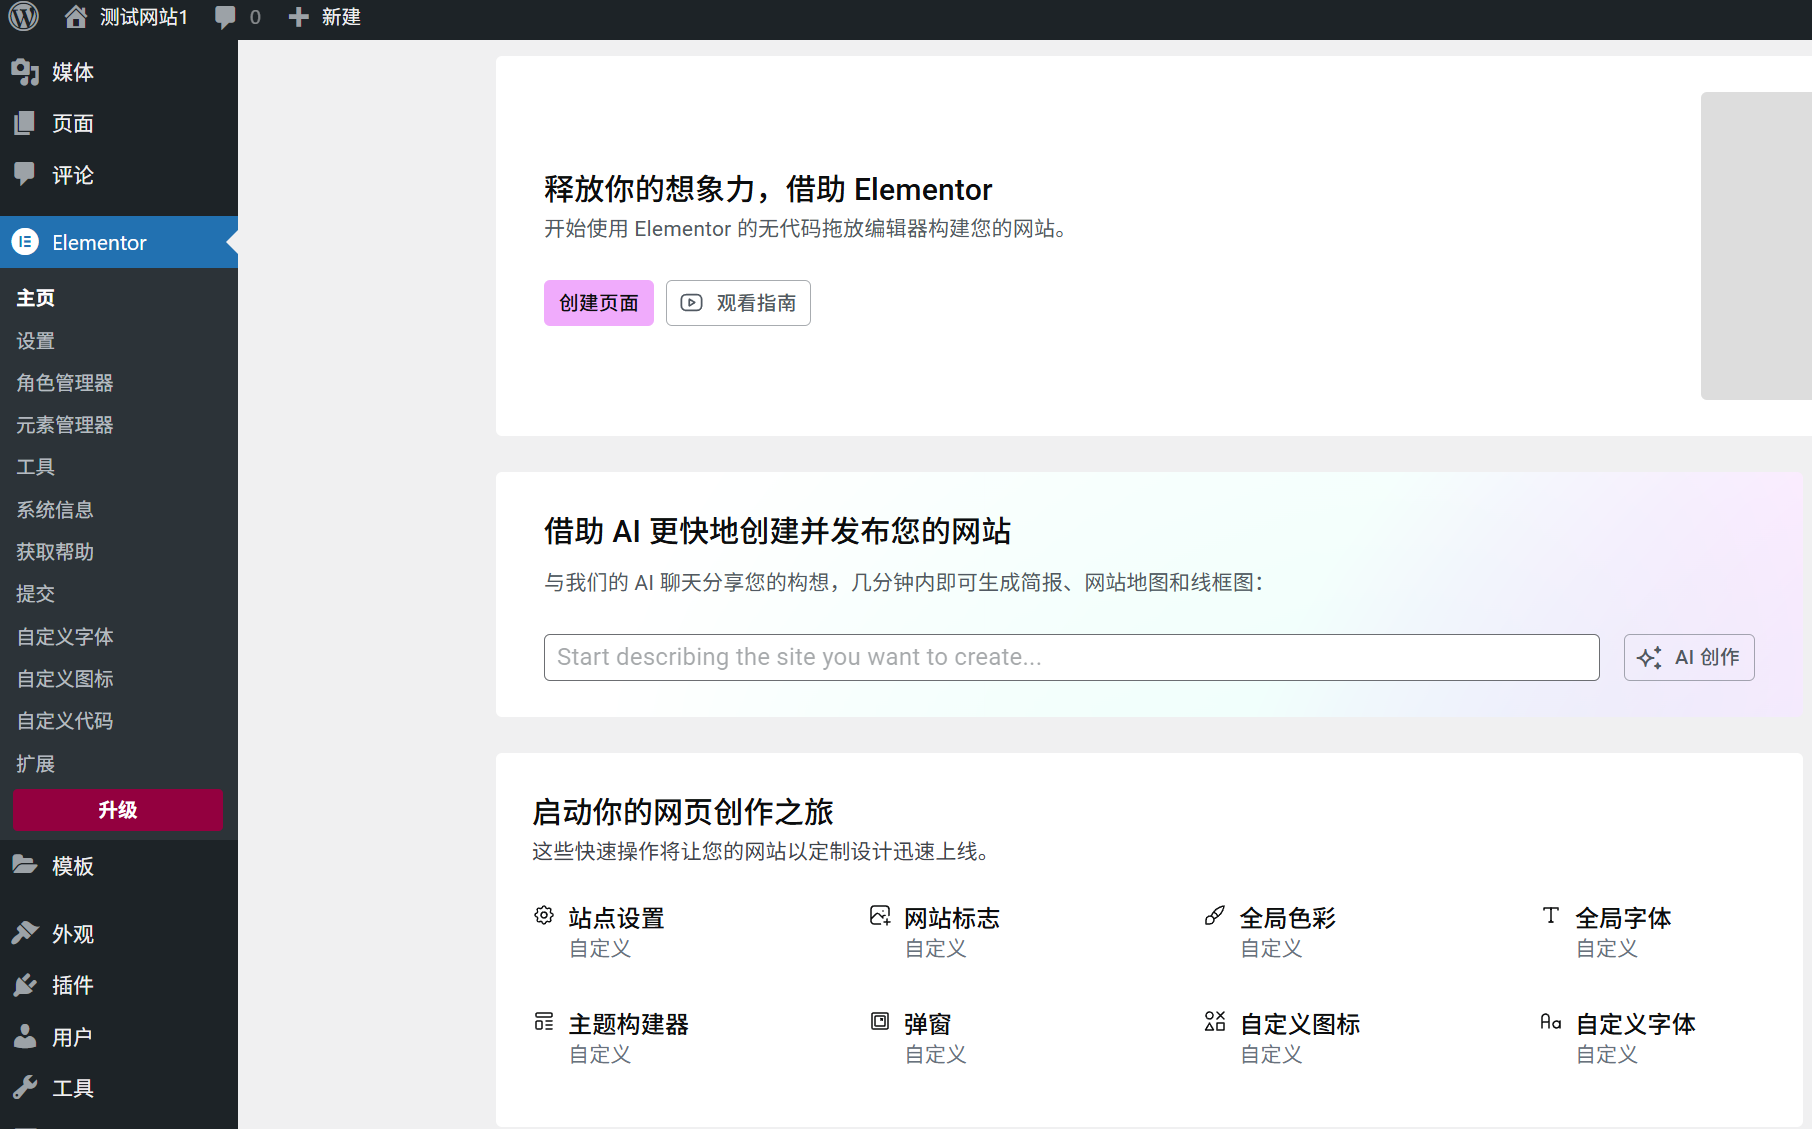
- Select a free template from "Templates" → "Elementor Template Library" and use it directly.
- Drag and drop modules (e.g. "Title", "Image", "Button") from the left "Elements" panel to the right edit area.
- Click on any element and adjust the style (color, font, spacing, etc.) in the left panel
The core advantage of Elementor is "real-time preview", all the changes will be shown instantly, try it boldly!
For a more detailed tutorial, check out the official Elementor documentation:https://elementor.com/help/
 English